
Your own domain
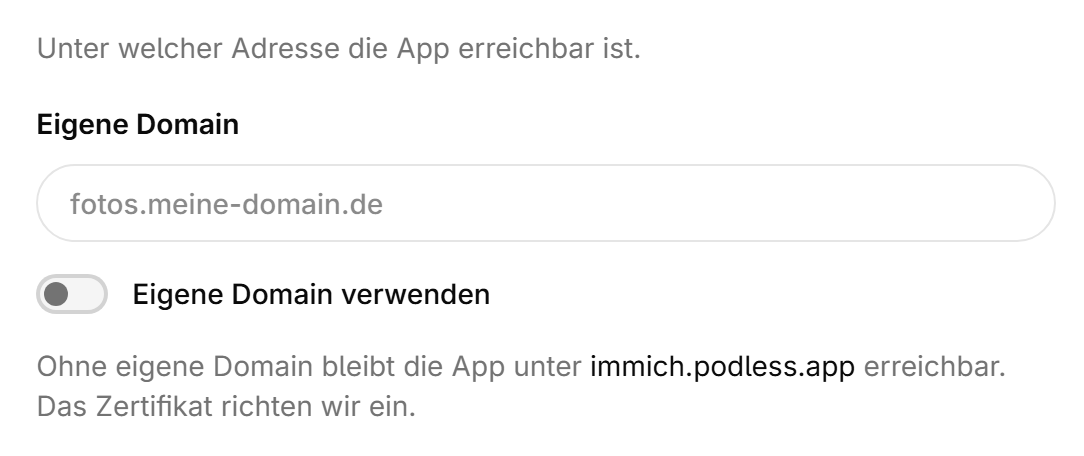
Every app is reachable on a podless.app address right away. If it should run under yours instead, say photos.example.com or example.com, you set that under SettingsDomain.
How it works#
- Open SettingsDomain and enter your domain.
- Set the DNS record shown there with your domain provider.
- Click “DNS is set – check status”.
- Wait for the status to turn to “Active”.
The DNS record#
The dashboard shows which record you need, with type, name and target ready to copy. For a subdomain it is usually a CNAME pointing at your app’s podless.app address. For a bare domain without a prefix you need the record some providers call ALIAS, others ANAME or CNAME flattening.
Note
Some providers can set the record for you at the press of a button. If yours can, the dashboard offers that button and you do not have to type anything by hand.
Certificate#
As soon as the DNS record is right, we obtain the certificate and renew it on our own from there. Until it is issued, the browser may complain for a few minutes. Unencrypted is not offered at all.
When it does not work#
- DNS takes time. A few minutes is normal, some providers take longer.
- If your domain has a
CAArecord, it has to allow the issuance, otherwise we get no certificate. - If a proxy or firewall sits in front, the path
/.well-known/has to get through. Otherwise renewal fails later, quietly. - One domain per app. Point any further addresses at the first one with your provider.
We keep checking that the record is still right and let you know when it stops matching. The original podless.app address keeps working alongside it.
Was this page helpful?